European Cuisine
Well, if you haven't already got your new catalogue, you will have it very soon! It's very exciting! There are a couple of the new varieties I am dying to try out this season....

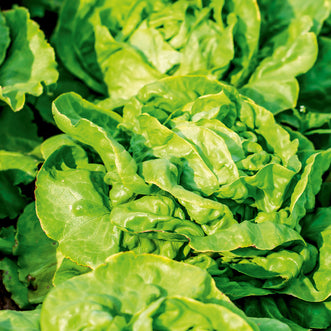
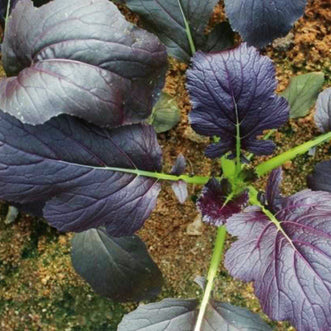
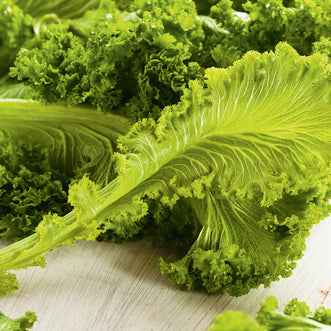
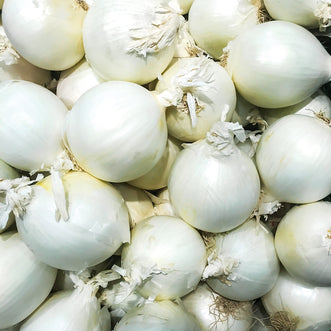
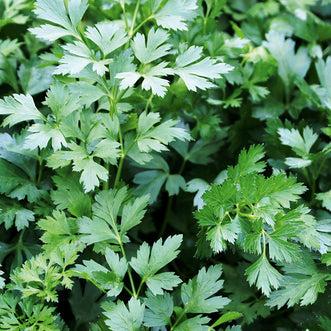
For the next few blog posts, we thought we have a loose theme of "Cuisine", focusing on regional cuisines. This week, we are going to look at some of the vegetables traditionally grown in the Northern Hemisphere - in Europe and the UK.
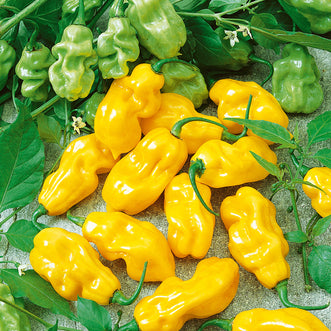
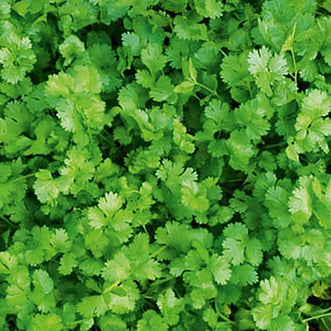
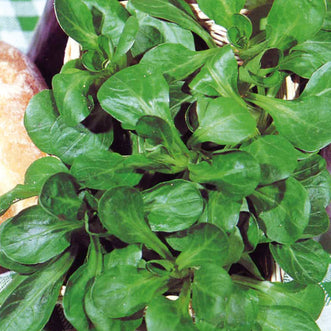
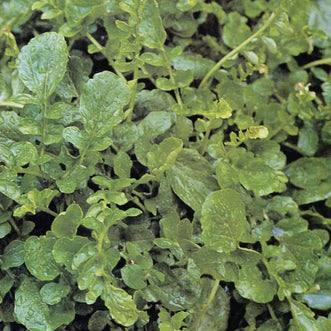
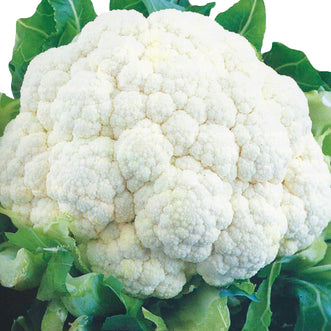
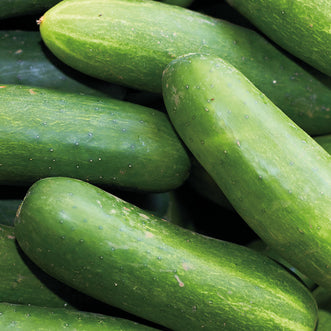
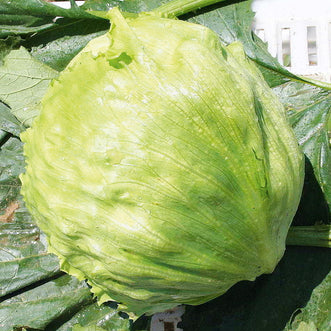
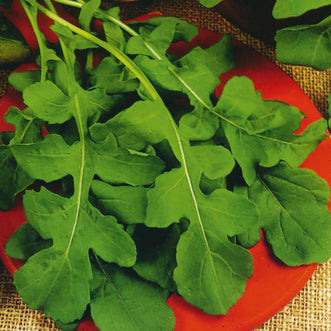
You can find a selection of some vegetables commonly found in European cuisine here. In addition, other vegetables traditionally grown in European include kale, kohlrabi, collards, sugar beet, beet and beetroot, Florence fennel, leeks, perpetual spinach, peas, celery for cutting and Chicory Witloof.
There's a lot of potential there for some future blog posts, so that's good. Some of these we have covered previously - we have linked the vegetables listed below so that you can easily go to the blog posts that cover growing and using the following vegetables:
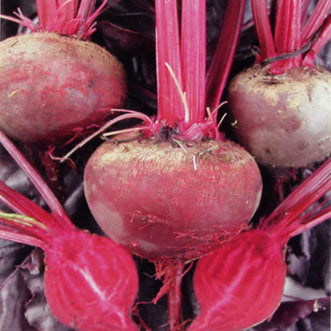
Click here for the beetroot post
Click here for the kale post
Click here for the kohlrabi post
Chicory Witloof
For this week's blog post, the first vegetable we thought we would cover is Chicory Witloof. The story behind the discovery of Witloof goes like this:
A Belgian farmer living near Brussels around 1830 stored some chicory roots in his dark cellar, intended to use them later as a coffee substitute. When he later came to retrieve them he discovered white shoots coming out of the head of the root. He thriftily tried eating them and found them to be delicious - tender and without the characteristic chicory bitterness.
If you would like to grow your own witloof, you will need to do it in two stages.
In the first stage, sow your Chicory seeds in Spring.
Sow directly into your garden bed, at a depth approximately twice the diameter of the seed. Chicory is best sown when soil temperatures are between 10ºC and 20ºC.
Plants should be spaced 25 30 cm apart. Good companion plants for Chicory are carrots, onions, Florence fennel and tomatoes.
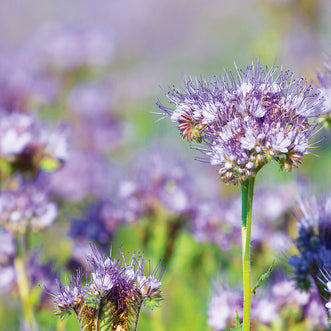
Allow the plants to grow throughout the summer. You can harvest the leaves as bitter greens. Chicory also has a very pretty blue flower, which will brighten up your garden beds!
In Autumn, when the plants are mature, the green leaves on top are cut off and the roots are harvested.
The roots are then prepared for the second stage of growth, which is the actual forcing of the witloof. The second stage will take 8 - 12 weeks.
To force your chicory, lift the plants and cut off the leaves about 5 cm above the roots. Shorten the roots to about 20-25 cm and replant upright and close together (just 3-5cm apart ) in a pot filled with loose soil.
Keep them damp but not soggy. Cover to exclude light, and keep them at a temperature above 10ºC. The white chicon starts "forcing" itself out of the head. When the chicon is ready, carefully pick it from the root.
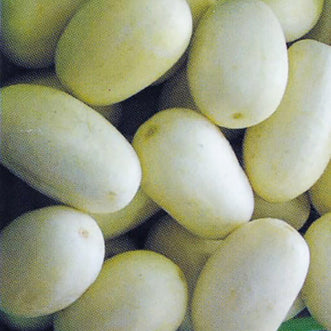
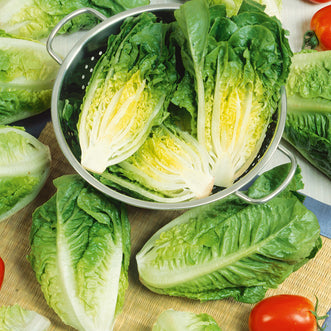
The Chicory Witloof chicon has a tightly packed teardrop-shaped head. The leaves are a bright white colour, with creamy yellow edges. It is grown in complete darkness to prevent it from turning green, which would release its bitter compounds. It is a good source of beta-carotene, which acts as an effective immune system booster much needed during the winter months. In addition, witloof provides a good source of potassium.
Witloof's crisp texture and cupped shape make it especially nice for grilling, stuffing or enjoying as a salad.
For a really easy and stylish salad, try adding a sprinkling of dried cranberries or sliced pear or apple.
Another delicious idea is serving with walnuts and a pungent cheese such as stilton or roquefort to make a delicious salad.
We hope those of you who are keen to try growing witloof have fun with it in your garden and kitchen this season!

Sauerkraut Tutorial
We also thought that this week we would provide a bit of tutorial about how to make sauerkraut, for those of you who would like to try your hand at it. It's awfully easy, and it's a great way to preserve your cabbage crop for later use. The additional benefits are that ferments, including sauerkraut (which is fermented cabbage), are good for you. Somehow, in the mysterious process of fermenting, the available vitamin C in cabbage is massively increased, which would explain why sauerkraut was so popular in those cold European winters!
My first attempt at sauerkraut was a crashing disaster, which is no wonder, since I made it by taking a wild guess at the process, and then went away for my summer holidays and forgot about it. Not nice to come home to two weeks later - that first inept attempt went straight into the compost bin!
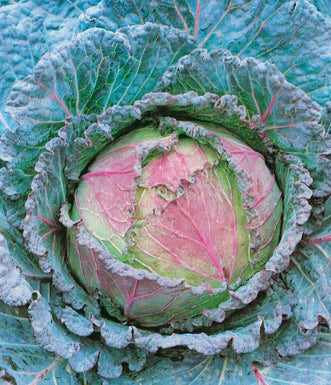
Anyway, since then I have discovered that it isn't actually at all difficult to make sauerkraut, so here is a short tutorial on how to go about it. I used a red cabbage this time, but the method is exactly the same for white cabbage.
Making sauerkraut is very simple.

You will need the following equipment:
A chopping board and knife, something to pound with (I used a pestle), a couple of large glass jars, a couple of small plastic bags, and a bowl or other large container that will hold the cabbage. I usually use my stock pot as it is large enough and straight-sided, but when I made this tutorial it was full of soup so I had to use a couple of bowls instead this time.
You will need the following ingredients:
A cabbage (about 1kg), 2 T of non-iodised salt, celery or caraway or other seeds (optional) and 1/4 Cup of whey if you have it (see further along for more info on whey).

Place the sliced cabbage in layers in a bowl and sprinkle salt between the layers. For a 1kg cabbage, use 2 tablespoons of salt. If you are not going to be using whey, increase the amount of salt.
Leave for about 30 mins. This starts the process of drawing out the liquid.

Pound the cabbage gently to break down the fibres. Gently is fine. Especially with a red cabbage! Otherwise, your whole kitchen and everything you are wearing will be splattered with purple.
As you pound, you will see liquid beginning to accumulate in the bowl with the cabbage. Red cabbage takes a little longer than white cabbage to break down and soften. Put some good music on to play and pound for the duration of four or five good songs - that should be long enough.

At this point, I add 1/4 cup of whey. Adding whey speeds up the fermentation so that your sauerkraut is ready sooner.
I use the whey left over from my cheesemaking, but most people don't make cheese, so if you still want to include whey, you can "make" your own by draining some yoghurt in a cloth-lined sieve - you will end up with lovely, very thick yoghurt (also known as yoghurt cheese - yum!!), and the liquid that has dripped from the yoghurt is your whey for the sauerkraut.

Alternatively, you can leave out the whey - it isn't an essential ingredient. In that case, increase the amount of salt you are using. You will also need to increase the amount of time you leave your sauerkraut to ferment.
You can add seeds to your sauerkraut - some traditional additions are caraway and celery seed but you could add other edible seeds for different flavours - experiment to find your favourite combinations - the seeds also help preserve the sauerkraut. I added celery seeds to mine.

Pack the cabbage into jars. As you pack the jars, use your pounder to push gently but firmly down on the cabbage - you'll be surprised how much you can fit into a jar. You can fit a whole small cabbage into one Agee jar - this cabbage took two jars. Pack the cabbage down hard but DON'T fill the jar too full - you need to have about 3-4cms of liquid above the level of the cabbage. Fermenting sauerkraut is an anaerobic process (without air) - any cabbage exposed to the air will spoil, not ferment.
When your jar is filled with cabbage to about 3 cm below the neck of the jar, take a small plastic bag and place it in the neck of the jar.
Fill the plastic bag with more of the cabbage juice/whey mixture, or you can use water if you are confident that there are no holes in the bag.
The bag is just a tool to hold the cabbage under the surface of the liquid throughout the fermentation time. This works really well and is simpler and cheaper than using special fermenting vessels.

Leave your sauerkraut on the kitchen bench, at room temperature, to ferment. If you have added whey, this process only take about three days. If you haven't used whey, it will take longer - about 12 days.

I always stand my jars in an old ice cream container, because the cabbage expands a little as it ferments and tiny bubbles start to form and rise through the jar, meaning that there is usually some overflow of liquid. Standing the jars in a container saves a lot of mopping up!!
After three days (or 7-10 days if you haven't used whey), taste the sauerkraut and if you are happy with the flavour, remove the bag, put a lid on the jar and refrigerate.
Sauerkraut will keep in the fridge for months! The flavours keep developing so it just gets better with time but you can certainly use it straight away.
If when tasting it, you think it hasn't achieved that tangy flavour you are looking for and needs additional time to ferment, then just leave it longer on the bench. The room temperature will affect how fast the fermentation process occurs.

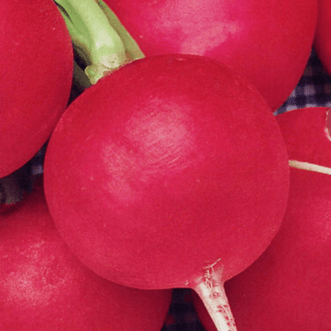
Once you have made sauerkraut, why stop there - grated beetroot, and grated carrot with fresh ginger makes wonderful ferments - give it a try and see how you get on! Once you get your hand in, you can try including all sorts of other produce from your garden .... beans, capsicums, chillis, radishes....
Remember that you are very welcome to make comments on our blog - we love hearing from you!