Why Choose Between Sprouts & Microgreens - Grow Both!

Sprouts or Microgreens?
Do you like having choices? Many of us do, so let's look at one of our kits with that in mind..........
A couple of seasons ago, we introduced a new kit called the Sprouts to Micros Kit. Our intention? To offer varieties that can be grown either as a sprout or as a microgreen.
Check out page 56 in our current catalogue.
We've had the Sprouting Starter Kit and the Microgreens Starter Kit for some time now and this relatively new option sits between the other two quite nicely.
Three good reasons for trying this kit:
- There are 5 varieties giving you a good variety of tastes.
- Sprouters can try microgreens while still sprouting.
- Microgreen growers can try sprouting while still growing their microgreens.
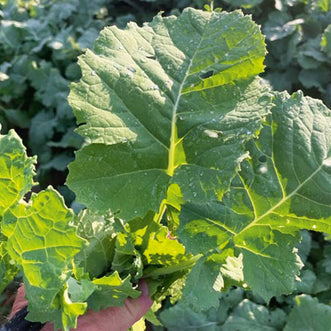
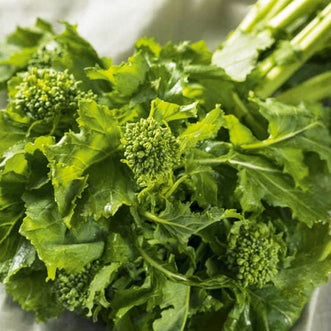
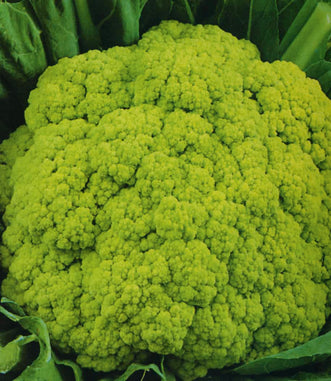
- Green Broccoli - highly nutritious with all the taste of mature broccoli heads. It's an effective anti-cancer agent due to the sulforaphane.
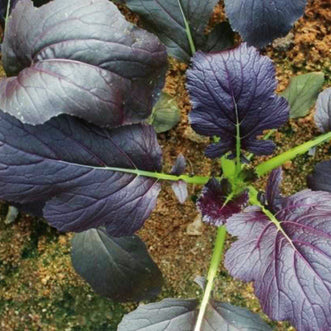
- Red Cabbage - great source of vitamins, minerals and fibre. Try them as a hangover cure and they have preventative properties for cardiovascular disease.
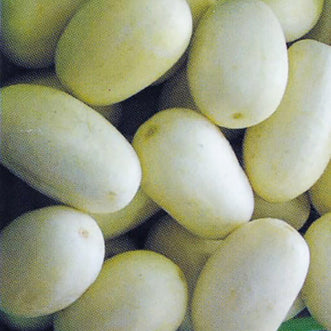
- Onion - enzymes, amino acids, minerals, vitamins & chlorophyll are all contained in these sprouts. Another option for adding sweet onion flavour to your meals.
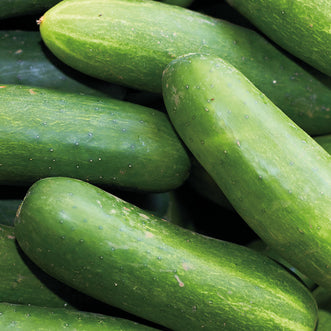
- Pea - lovely taste and crunch of peas and can be steamed as well as eaten raw. Contain vitamins and fibre which are good for regulating cholesterol.
- Radish - provides that nice spicy bite and all the minerals & vitamins help to maintain a healthy colon.
- Lid - use on an Agee jar (or any jar with a 92mm neck) to ensure your sprouts are well drained.
What's the difference between sprouts and microgreens? Think stages of growth....
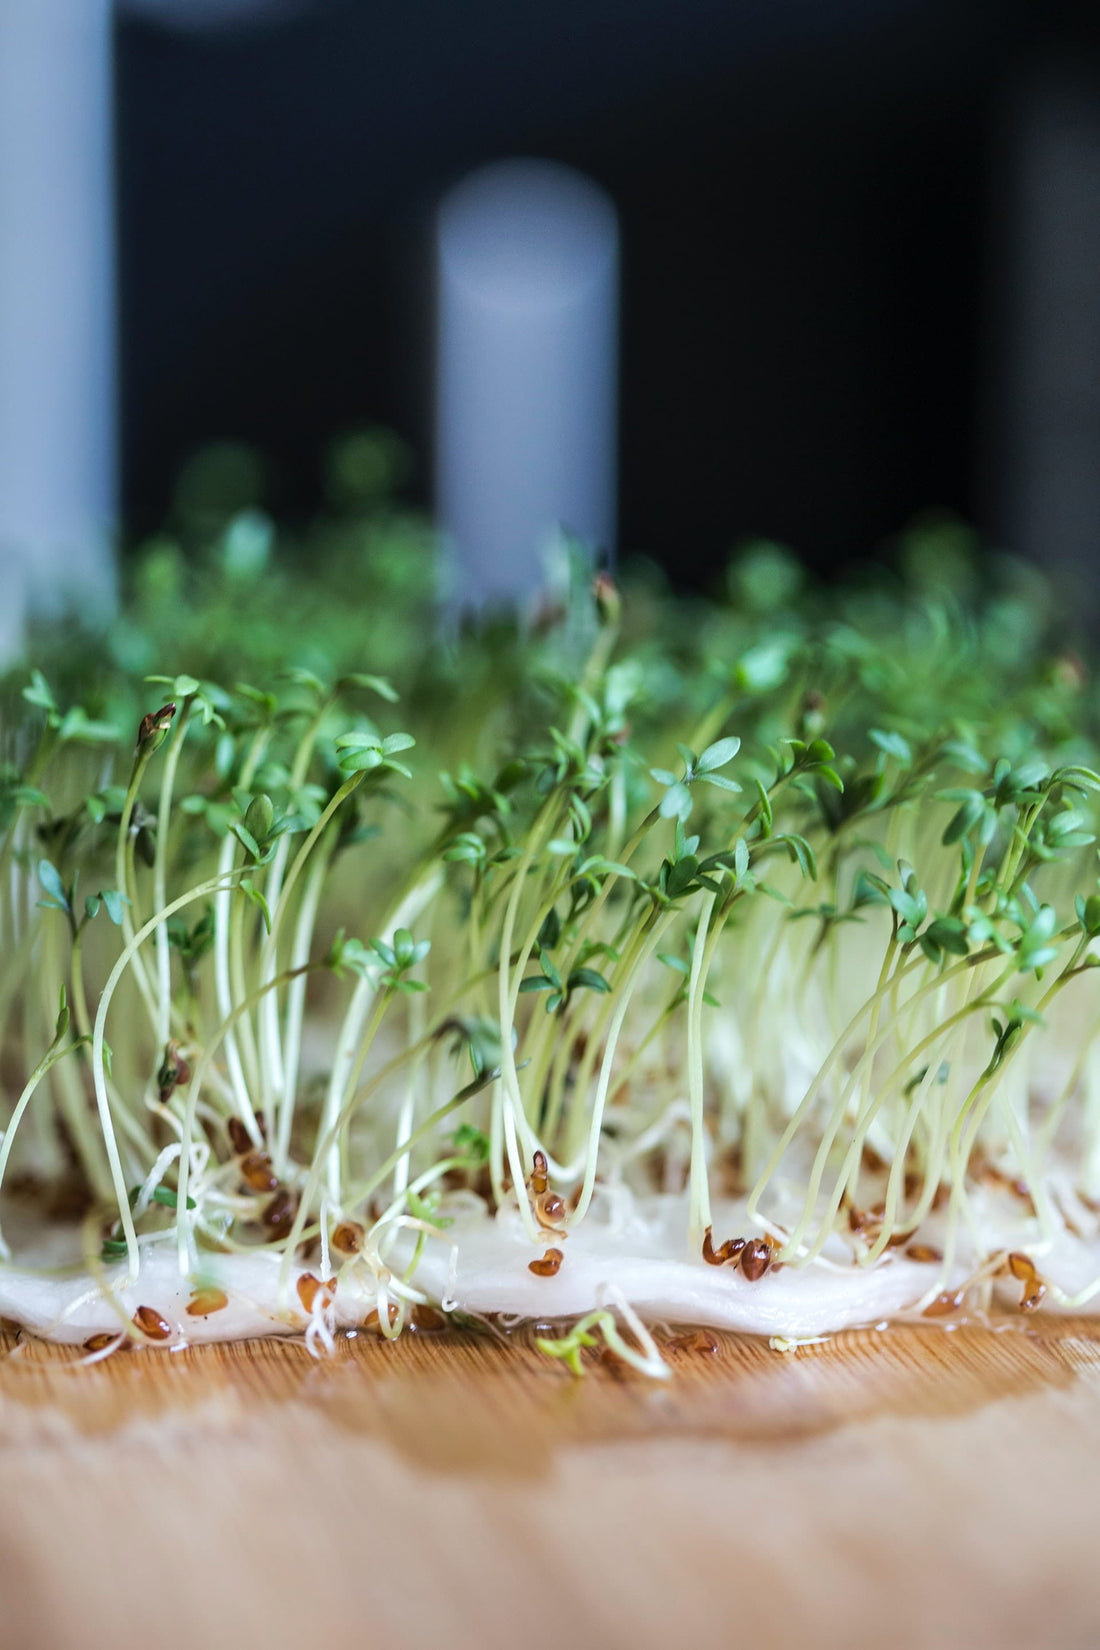
Sprouts are the first stage where the seed is rinsed in water each day until the sprout grows. This process from seed to eating is usually 3-7 days, depending on the time of year and the variety.
How to Sprout:
This is different from germination as there is no soil involved. It is about rinsing the sprouts each day with water and draining them well. They will sprout using the water that has clung to the seed.
Here is a previous blog about How to grow Sprouts
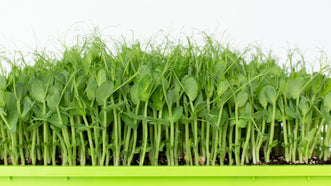
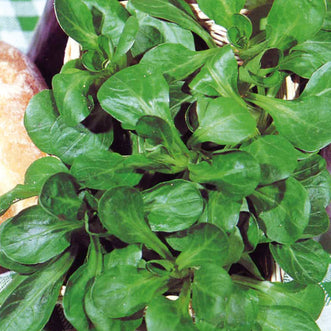
Microgreens are the next stage. The seed is sown in soil to achieve bigger growth rather than being sprouted in a jar. They're then harvested by cutting before they reach the baby leaf stage.
How to grow Microgreens:
This is a fast and compact way of growing greens. Grow as many varieties as you like to make your own mixes and eat them on their own or mix them into salads, vegetables, etc. Many cafes and restaurants use microgreens as a garnish, so you are bound to have been served these at some stage.
Here is a link to a video Gerard made about How to grow Microgreens and How to Harvest Microgreens
Or if you prefer, here is a link to a tutorial on our website; How to grow Microgreens The other option is to go via our Tips and Techniques on the homepage of our website.
So, have a go......
Go on, have some fun sprouting to try different flavours. Here is my experiment with sweetcorn sprouts. The jury was out around the office whether we liked them or not. They were very, very sweet with a lovely corn flavour. The kids would be quite taken with the sweetness.