Celeriac - Turnip Rooted Celery
Tyler
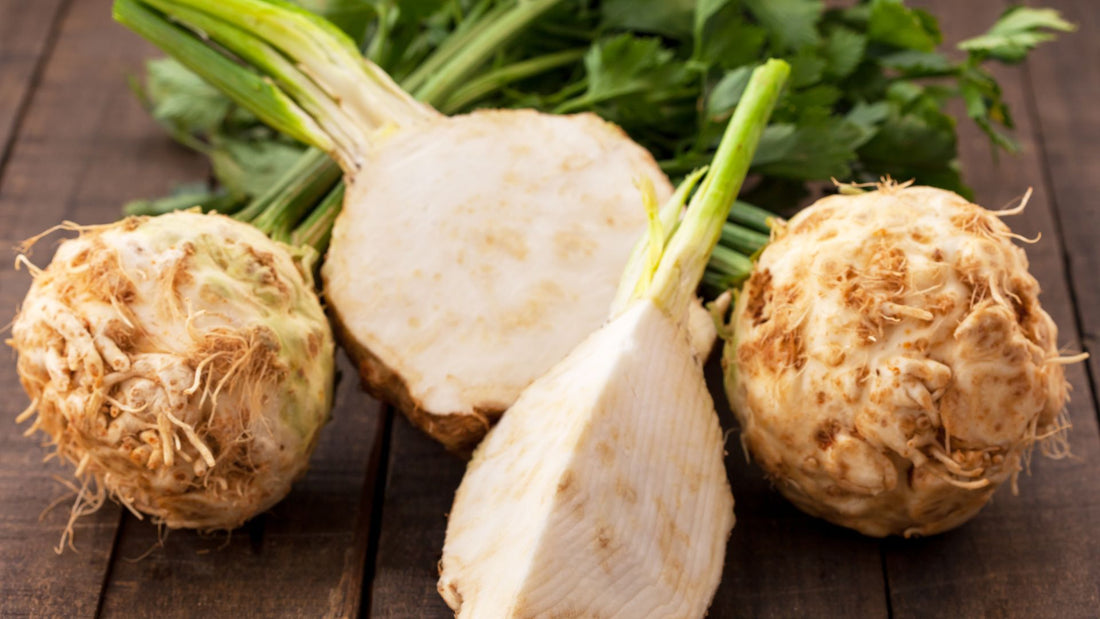
Celeriac is one of our more obscure, less-grown vegetables. Its gnarled stone-coloured roots are never going to win it any prizes in the beauty pageant but, like those tanned and toned beauty queens, it’s what inside that should really count – and these relatives of celery have a rich and sensuous soul behind that seemingly ugly exterior!
Many of us are put off growing celeriac because of our previous encounters wrestling to prepare the roots for the pot. True, they require a bit of fiddly peeling but the taste is worth it. Nutty, mildly spicy and with hints of celery, it’s a charismatic sort of vegetable that’s as happy in a stew as it is grated to contribute a fresh punch to salads.
What to expect...
You start it off in spring, nurture the seedlings slowly along, plant them out then wait all summer, inspecting the undergrowth daily with a building sense of paranoia as the roots fail to swell! But then, all of a sudden, they’ll pile on the pounds as if they’ve suddenly clocked that they need to lay down fat for winter. From late summer to autumn those roots will swell and swell, rewarding all your patience. The knack is simply not to panic – they’re just late starters.
In the nursery...
Celeriac needs quite a long growing season, so if you are growing in a temperate or cold climate start the seeds off under cover in early spring. Sow the tiny seeds thinly onto the surface of seed compost. Don’t cover the seeds as they need light to germinate, though popping a sheet of glass over the seed tray or pots will ensure a cosier microclimate suitable for germination. Gentle warmth will also coax them along, so do all this on an indoor windowsill or propagation area of the greenhouse.
Like their delayed root swelling, they like to tease the ever-patient gardener, taking as long as three weeks before the seedlings finally make an appearance. Once large enough to handle they can be carefully levered out of their seed tray from below (use a pencil) and planted into ready-filled modules/cells or biodegradable pots. I prefer biodegradable pots as it avoids disturbing the roots at planting out time.
Out to bed...
Plant your celeriac out by the end of spring only after any remaining risk of frost has passed. Acclimatise your seedlings to outdoor conditions beforehand by leaving the young plants outside for increasingly longer periods, bringing them under cover at night. A cold frame makes a handy halfway house for this purpose.
You can plant your celeriac out at anything from 37cm (15in) to 45cm (18in) apart in each direction. Wider spacing will give bigger roots but obviously fewer celeriac per unit area, while a closer spacing will give more average-sized roots. Where you go between these two extremes really depends on what you want and how you want to use the roots.
In any case, plant your celeriac into firm, fertile ground that’s been improved with either compost or well-rotted manure.
Smooth progress...
Keep plants watered but not overly so – only reach for the watering can or hose if the ground is dry and it hasn’t rained for a week or more. It goes without saying that weed-free soil will reduce competition, helping plants establish and, later on in summer, put on their girth. Feel free to remove yellowed leaves from the lower part of the crown but don’t pull away leaves unnecessarily, as these will capture the sun’s energy and turn it into root.
The roots will be ready as soon as they look big enough, which will be from mid-autumn onwards. Roots can be left in the ground and cut free as needed but if slugs are an issue in your garden you may be better off lifting them all for storing in a cool, dark and well-ventilated place such as a garage. Leave a bit of soil on them and raise them up off the ground away from potential vermin. Some of the roots will keep all winter long, proving well-worth the wait – and their weight!
By Benedict Vanheems